
 Posted By
Bajarangi soft ,
Posted On 09-10-2020
Posted By
Bajarangi soft ,
Posted On 09-10-2020
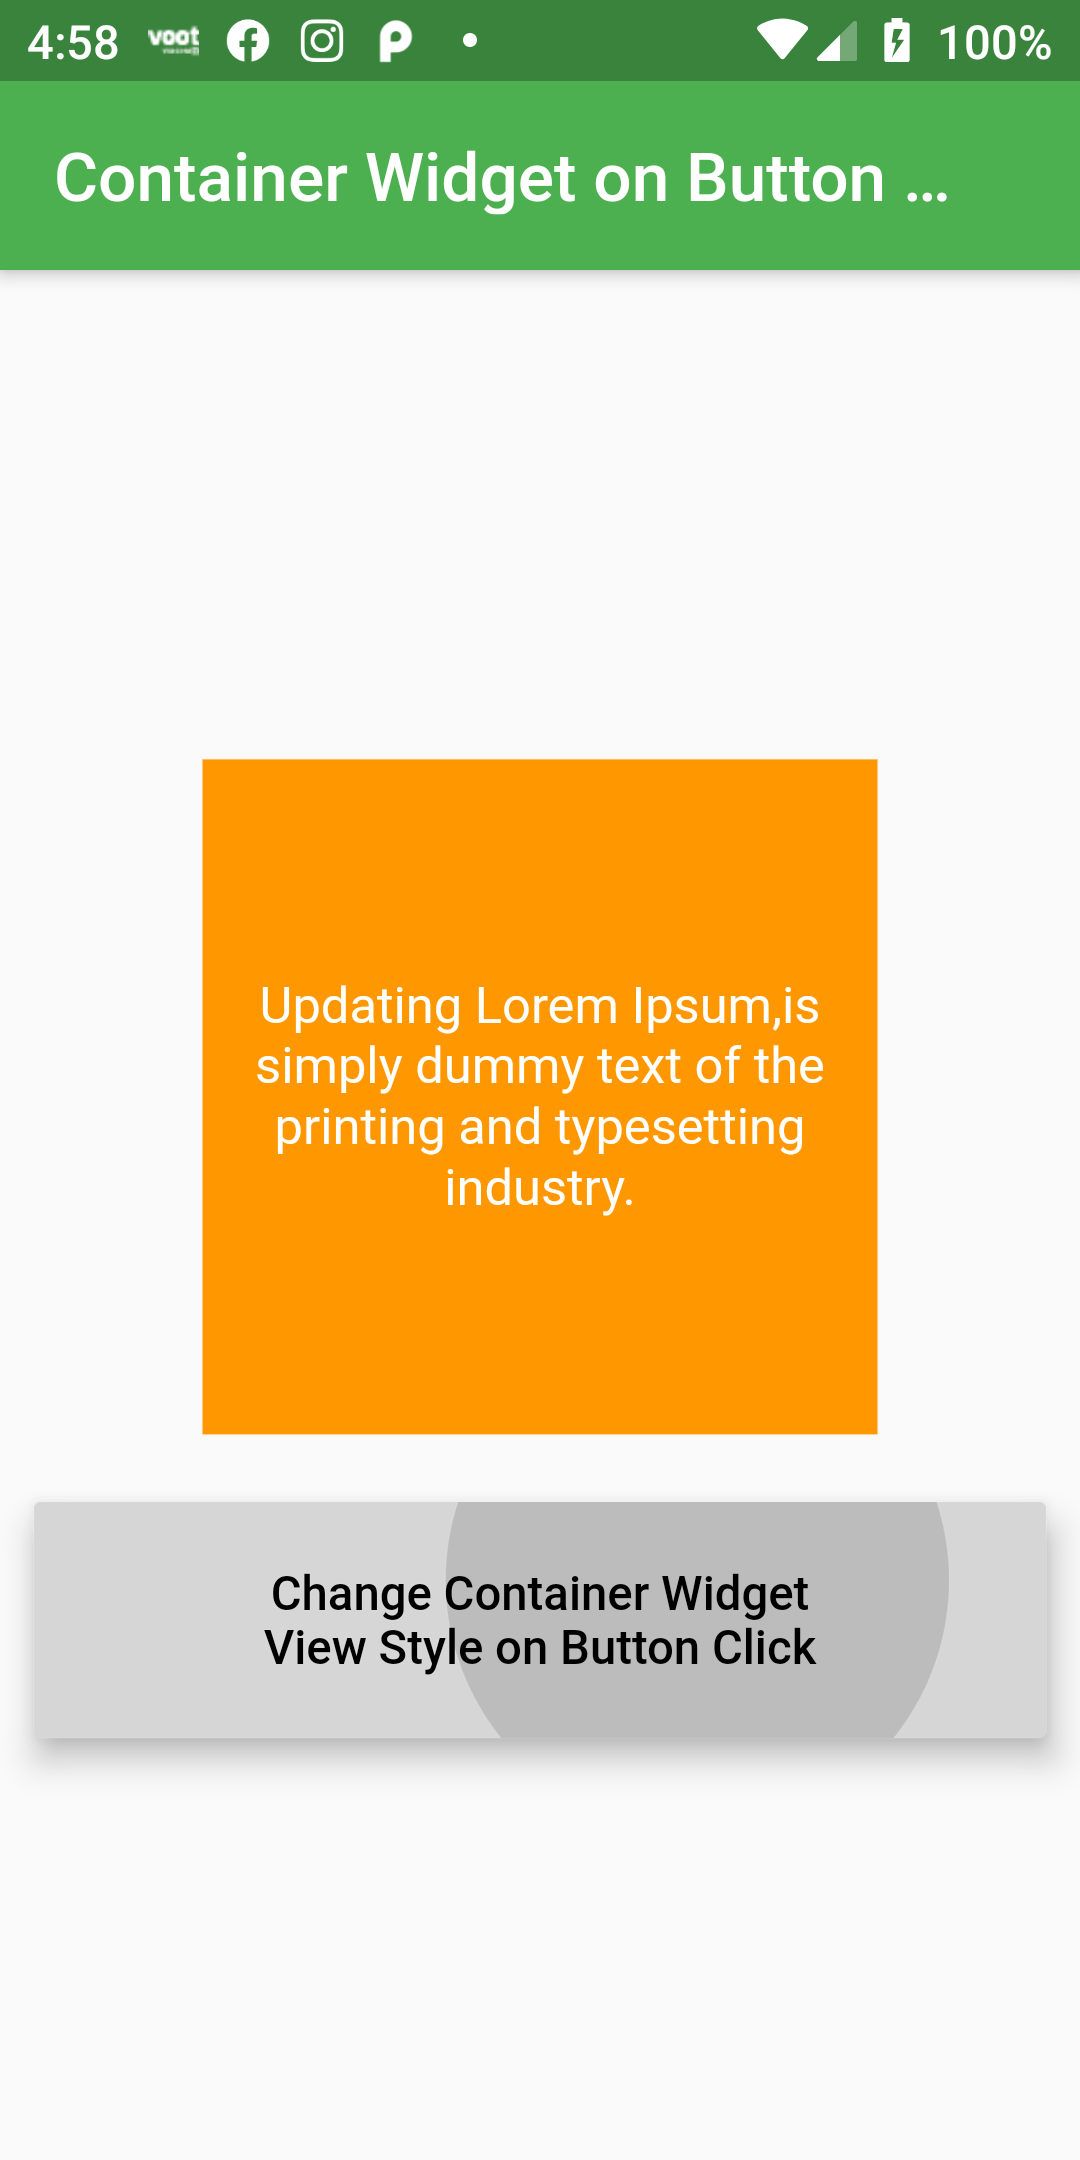
Different Style Container Widget on Button Click
Complete Code For Different Style Container Widget on Button Click In Flutter
Main.dart
import 'package:flutter/material.dart';

void main() => runApp(MyApp());

class MyApp extends StatelessWidget {
  @override
  Widget build(BuildContext context) {
    return MaterialApp(
      debugShowCheckedModeBanner: false,
        home: Scaffold(
            body: Center(
                child: UI()
            )
        )
    );
  }
}

class UI extends StatefulWidget {
  UpdateUIState createState() => UpdateUIState();
}

class UpdateUIState extends State<UI> {
  bool viewObject = true;
  changeStyle(){
    setState(() {
      viewObject = false ;
    });
  }

  @override
  Widget build(BuildContext context) {
    return Scaffold(
      appBar: AppBar(
        backgroundColor: Colors.green,
        title: Text('Container Widget on Button Click'),
      ),
        body: Center(child: Column(
            mainAxisAlignment: MainAxisAlignment.center,
            children: <Widget>[
              Container(
                  width: viewObject ? 200 : 240,
                  height: viewObject ? 200 : 240,
                  margin: EdgeInsets.all(20),
                  color: viewObject ? Colors.orange : Colors.lightBlue,
                  padding: EdgeInsets.fromLTRB(0, 10, 0, 10),
                  child: Center(child: Text('Updating Lorem Ipsum,is simply dummy text of the printing and typesetting industry.',
                    style: TextStyle(fontSize: 15, color: Colors.white),
                    textAlign: TextAlign.center,)
                  )),
              SizedBox(
                width: 300,
                height: 70,
                child: RaisedButton(
                  onPressed: () => changeStyle(),
                  child: Text('Change Container Widget \nView Style on Button Click',
                    textAlign: TextAlign.center,),
                  textColor: Colors.black,
                  color: Colors.white,
                  padding: EdgeInsets.fromLTRB(10, 10, 10, 10),
                ),
              )
            ]))
    );
  }
}